In this tutorial about React I want to teach you some of the best practices of using it in real world applications. If you didn’t heard about React, then you can learn more about it on their site. Anyway without opening the link, React is “A JavaScript library for building user interfaces”.
React is not opinionated about the style of your application and just does one thing, user interfaces, and does good.
In order to be easy for you to follow the tutorial, I will use the jsfiddle online code editor.
1. Configuring the editor
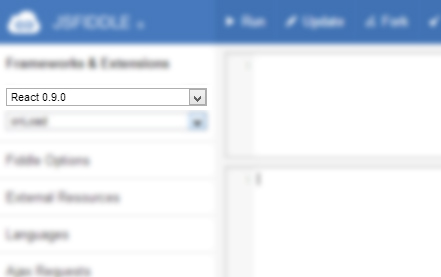
Open up the browser to jsfiddle and in the left panel (where says “No-Library (pure JS)”) select the “React 0.9.0” library. This will include the React library into your jsfiddle without any other code. Click here to see it in action. Every step will contain one or more links to the equivalent jsfiddle.
2. Defining what we’ll do
We will create a simple page that will contain a main React component and a sub component. They will communicate with data and will keep the dom in sync with the data. You’ll also learn about props, state and event management in React.
3. Let’s create the main component
A component is just the way React calls to their “classes”. In order to create one you just have to do this:
var MainV = React.createClass({});
Then to render it on the screen just do:
React.renderComponent(new MainV(), document.body);
See it in jsfiddle.
Now we have to add some methods to the class which are:
- getDefaultProps: called before rendering the component on the screen. Is also the first method called; Is only called once;
- getInitialState: called after the getDefaultProps and is used for returning the default state of the component; Is only called once;
- render: called in order to render the component itself, after the previous methods have been called;
Let’s make the component to just render a simple div tag with some text into it. In order to do this add the following code into the render method:
return React.DOM.div({
    className: 'root'
}, 'Simple div')
See it in jsfiddle.Now click on the “Run” button in jsfiddle and you will see in the “Result” panel the text “Simple div”. Well that was quite simple!
You might find it confusing that the component has props and state. The props are immutable during the lifecycle of the component, while the state is mutable. Any change to the state will call the render method.
4. Add some data
We will use a list of colors with their color code and name as our data for this example. Just create a variable named rows and pass it to the MainV as a prop. When you instance a React class and you pass an object, that object will be the props of the instance (the data passed is also mixed with the return value of getDefaultProps method).
var getData = function getData(){
    return [
        {
            color: "red",
            value: "#f00"
        },
        {
            color: "green",
            value: "#0f0"
        },
        {
            color: "blue",
            value: "#00f"
        },
        {
            color: "cyan",
            value: "#0ff"
        },
        {
            color: "magenta",
            value: "#f0f"
        },
        {
            color: "yellow",
            value: "#ff0"
        },
        {
            color: "black",
            value: "#000"
        }
    ]
}
var rows = getData();
var mainV = new MainV({
    rows: rows
});
React.renderComponent(mainV, document.body);
Also add the following in your React class:
getDefaultProps: function(){
return {
rows: null
}
},
You might be asking why would you add the rows in the default props. This will act as the documentation for your component. So the next time you will see this component you already knows what you can input this component. See the jsfiddle.
As Daniel Lo Nigro said in the comments, a better way to document the props of a component is to use propTypes. You can still keep the getDefaultProps but is for another reason and this is: imagine you have an object and some keys. If nothing is passed to the component and you try to get the value of a key it will throw an error; In order to avoid this you have to check if the object is really present. If you use getDefaultProps you should never check if the object is really present because is always present. This is the official use case. The propTypes is only used in development mode (when you are not using the react.min.js) and checks the props.
Still nothing interesting, nothing will happen. Now let’s make the MainV to render some divs with the colors.
First of all let’s add the underscore library (will make your life easier and code cleaner) by adding the following code to the HTML panel in jsfiddle (see here):
<script type="text/javascript" src="http://underscorejs.org/underscore-min.js"></script>
Now update your render method to this:
render: function(){
return React.DOM.div({
className: 'root'
},
_.map(this.props.rows, function(row){
return React.DOM.div({
className: 'box'
})
})
)
}
The _.map part just loops over the rows array and collects the results of the function in a variable, which is returned. So you might be now asking: what exactly React.DOM.div accepts as a second argument? Well you can give it a simple text, an array, an array with another array in it will also work.
Now let’s add some CSS for the divs that will be created:
.box {
    width: 50px;
    height: 50px;
    background-color: black;
}
Now we can hit “Run” in jsfiddle and you can see a black rectangle like in the following image (See the jsfiddle here.):
Well the boxes are there, they are just grouped together. In order to fix it we will add a different color to each box. In order to do that we will update the render method and will set the backgroundColor of the boxes to the value of the row:
render: function(){
    return React.DOM.div({
        className: 'root'
    },
        _.map(this.props.rows, function(row){
            return React.DOM.div({
                className: 'box',
                style: {
                    backgroundColor: row.value
                }
            })
        })
    )
}
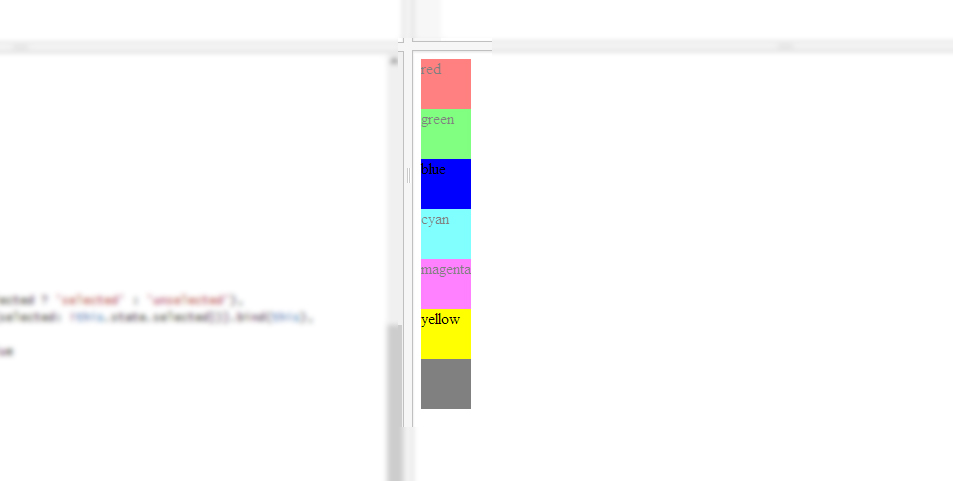
Now let’s click on “Run” in jsfiddle (see here the last version), should look like this:
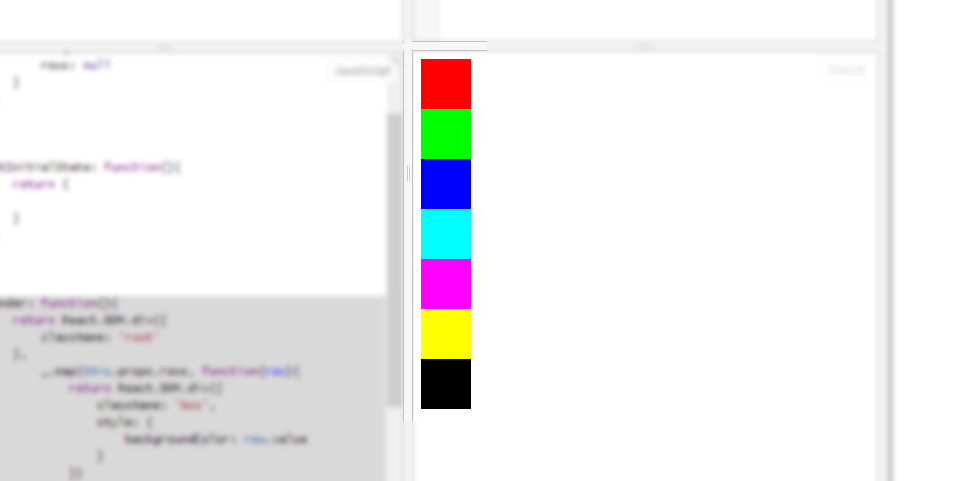
You might see an interesting pattern emerging; we are writing near to functional JavaScript. You will get used to discard a lot of instances and then create them again. This is what the render method does every time is called.
Let’s also add the text near each color box (jsfiddle):
render: function(){
    return React.DOM.div({
        className: 'root'
    },
        _.map(this.props.rows, function(row){
            return React.DOM.div({
                className: 'box',
                style: {
                    backgroundColor: row.value
                }
            }, row.color) // only needed to add this
        })
    )
}
5. Create a React sub component
Creating a React sub component is exactly what we have done until now. Let’s create a ItemRenderer that has just a single job: render a item of data;
var ItemRendererV = React.createClass({

    getDefaultProps: function(){
        return {
            color: null,
            value: null
        }
    },

    render: function(){
        return React.DOM.div({
            className: 'box',
            style: {
                backgroundColor: this.props.value
            }
        }, this.props.color)
    }

})
What this does? Is just receiving 2 props (color and value) and then render them in the render method.
Now we have to update the MainV.render method to include the ItemRenderer:
render: function(){
return React.DOM.div({
className: 'root'
},
_.map(this.props.rows, function(row){
return new ItemRendererV(row);
})
)
}
Nothing new here neither! You just create a new instance of ItemRendererV and pass it the row object. This row object will be the props of the ItemRendererV. See the jsfiddle until now here.
6. Let’s add some state
Since now we have only talked about props, which are immutable and introduced the state in the getInitialState method explanation above. You might be asking how to change the state, is simple: always use
this.setState({key: 'value'})
and never change using the
this.state.key = 'another value'
You only use this.state.key to get the value, is only used to read in this way. Also another small detail is that when you change the data with the setState method the this.state will not be updated immediately. If you want to have access to the state as soon as it changes you can do:
this.setState({key: 'another value'}, function(){alert(this.state.key)})
We can add a state for each item renderer to know whenever is selected or not. In order to do that we need a new state for the item renderer and we need to update the render method:
getInitialState: function(){
    return {
        selected: false
    }
},

render: function(){
    return React.DOM.div({
        className: 'box ' + (this.state.selected ? 'selected' : 'unselected'),
        onClick: function(){this.setState({selected: !this.state.selected})}.bind(this),
        style: {
            backgroundColor: this.props.value
        }
    }, this.props.color)
}
Also add the following CSS:
.selected {
    opacity: 1;
}

.unselected {
    opacity: 0.5;
}
Let’s see it in action in jsfiddle:
7. Know when something happens: events
You might also want to alert the parent view that a new item has been selected. This is done by adding a prop value with a function when instancing the item renderer. Then the item renderer will call the function when is required. Change the render method of MainV:
__onItemRendererSelect: function(data){
    alert(data.color)
},
render: function(){
var _this = this;
return React.DOM.div({
className: 'root'
},
_.map(this.props.rows, function(row){
return new ItemRendererV({
data: row,
onSelect: _this.__onItemRendererSelect
});
})
)
}
We need to pass 2 different stuff: some data and a function; The onSelect function will be called by the item renderer;
Now the item renderer will need those changes:
getDefaultProps: function(){
return {
data: {
color: null,
value: null
},
onSelect: null
}
},
Also update the this.props.color to this.props.data.color (the same with the value), check here the jsfiddle.
Now we need to make the item renderer to call the onSelect prop:
__onClick: function(){
    this.setState({selected: !this.state.selected}, function(){
        if(this.state.selected && this.props.onSelect){
            this.props.onSelect(this.props.data);
        }
    })
},

render: function(){
    return React.DOM.div({
        className: 'box ' + (this.state.selected ? 'selected' : 'unselected'),
        onClick: this.__onClick,
        style: {
            backgroundColor: this.props.data.value
        }
    }, this.props.data.color)
}
Notice that the __onClick method appeared, this was necessary in order to keep things more organized. Here we just do the same as before but we listen for the state to change and then run the onSelect prop method. See here the complete jsfiddle.
8. Further stuff
We could make a candy crush game with the boxes. In this jsfiddle I’ve updated the colors to more nicer ones and added some transitions. In this jsfiddle I’ve added even more boxes. The final work should like this (without the React logo, of course):

Would be nice to do that with React, even if is not its purpose. You know are able to build some nice React component in pure JavaScript. If you are interested in integrating React with other frameworks you might check integrating React with Backbone.Router.
I hope you understood every detail about this tutorial, if not, you are welcome to ask me anything!

